
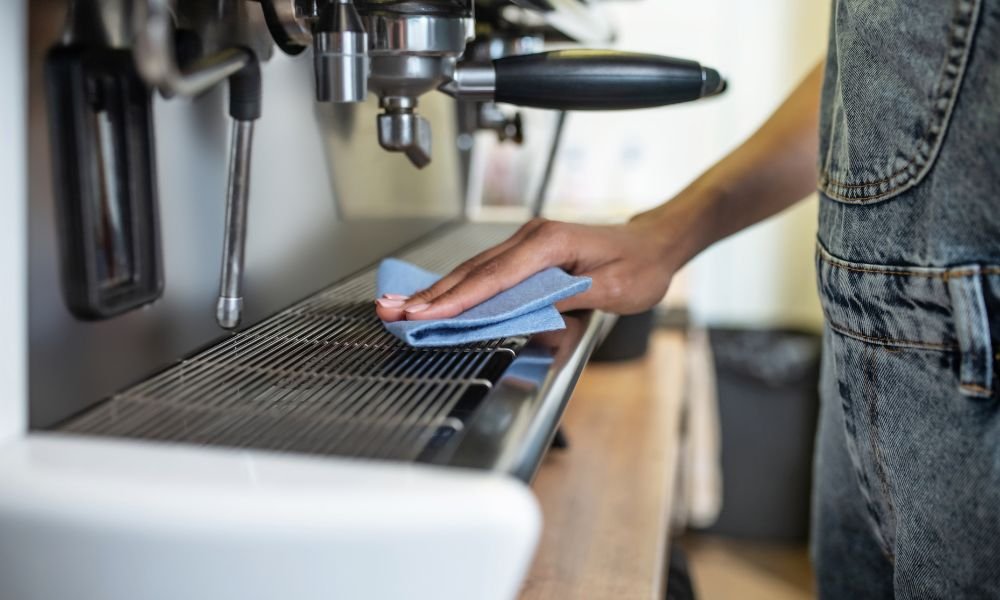
A coffee maker helps you start your day with a fresh and flavorful cup of coffee. However, over time, coffee oils, mineral deposits, and bacteria can build up inside the machine. If you don’t clean it regularly, your coffee may taste bitter, brew more slowly, or even develop an unpleasant smell.
Learning how to clean a coffee maker is one of the easiest ways to keep your machine working efficiently while improving the taste of every cup. The good news is that cleaning a coffee maker doesn’t require expensive products or professional skills. With a few household items and a simple routine, you can keep your machine in excellent condition.
In this guide, you’ll learn why regular cleaning matters, what supplies you’ll need, and the exact steps to clean different parts of your coffee maker.
Why You Should Clean Your Coffee Maker
Many people only rinse the coffee pot after brewing. Unfortunately, that’s not enough.
Inside the machine, leftover coffee oils and hard water minerals slowly accumulate. These deposits reduce brewing performance and can even shorten the lifespan of your coffee maker.
Regular cleaning helps:
- Improve coffee flavor
- Remove unpleasant odors
- Prevent mold and bacteria growth
- Increase brewing efficiency
- Extend the life of your machine
Even if your coffee maker appears clean on the outside, the inside may need attention.
Signs Your Coffee Maker Needs Cleaning
Not sure whether it’s time to clean your machine? Look for these common signs:
- Coffee tastes bitter or stale
- Brewing takes longer than usual
- The machine makes unusual noises
- White mineral buildup is visible
- Coffee isn’t as hot as before
- An unpleasant smell comes from the machine
If you notice any of these problems, it’s time for a thorough cleaning.
Supplies You’ll Need
Before you begin, gather these simple items:
- White vinegar
- Fresh water
- Mild dish soap
- Soft sponge
- Microfiber cloth
- Soft brush or toothbrush
- Paper filter (if required)
Avoid using abrasive scrubbers that may damage your coffee maker.
Step 1: Turn Off and Unplug the Coffee Maker
Safety always comes first.
Turn off the coffee maker and unplug it from the electrical outlet. Allow the machine to cool completely before cleaning any parts.
This reduces the risk of burns and electrical accidents.
Step 2: Wash the Removable Parts
Remove all detachable components, including:
- Carafe
- Filter basket
- Permanent filter
- Lid
Wash them using warm water and mild dish soap.
Use a soft sponge to remove coffee stains and oils. Rinse thoroughly and allow everything to air dry.
If your manufacturer labels these parts as dishwasher-safe, you may clean them in the dishwasher.
Step 3: Clean the Water Reservoir
The water reservoir can collect mineral deposits and bacteria over time.
Use a damp cloth or sponge to wipe the inside of the reservoir.
If you can reach inside easily, gently scrub any visible buildup using a soft brush.
Avoid using harsh chemicals.
Step 4: Run a Vinegar Cleaning Cycle
White vinegar is one of the most effective natural cleaners for coffee makers.
Fill the water reservoir with:
- Half white vinegar
- Half clean water
Start a normal brewing cycle.
When about half of the solution has brewed, pause the machine for around 20–30 minutes.
This gives the vinegar time to dissolve mineral deposits inside the machine.
Resume the brewing cycle until it’s finished.
Step 5: Flush the Coffee Maker with Fresh Water
After using vinegar, you need to remove any remaining residue.
Fill the reservoir with clean water only.
Run two or three complete brewing cycles.
Repeat until you no longer notice any vinegar smell.
This step is important because leftover vinegar can affect the taste of your next pot of coffee.
Step 6: Wipe the Exterior
Use a damp microfiber cloth to clean the outside of the coffee maker.
Pay attention to:
- Control buttons
- Warming plate
- Handle
- Base
- Display panel
Dry everything with a clean cloth to prevent water spots.
Keeping the exterior clean also improves the appearance of your kitchen.
How Often Should You Clean a Coffee Maker?
Cleaning frequency depends on how often you use your machine.
A good routine is:
- Wash removable parts after every use.
- Wipe the exterior weekly.
- Deep clean with vinegar once every month.
If you have hard water, deep cleaning every two to three weeks may be necessary.
Tips to Keep Your Coffee Maker Clean Longer
Good habits reduce buildup and improve performance.
Try these simple tips:
- Empty the used coffee grounds immediately.
- Never leave old coffee sitting in the pot.
- Refill with fresh water every brew.
- Dry removable parts before reassembling.
- Store the machine in a clean, dry area.
Small daily habits make deep cleaning much easier.
Common Cleaning Mistakes to Avoid
Many people accidentally reduce the lifespan of their coffee makers by cleaning them incorrectly.
Avoid these mistakes:
- Using bleach inside the machine
- Scrubbing with steel wool
- Skipping the rinse cycles after vinegar
- Leaving coffee residue overnight
- Ignoring mineral buildup
Using gentle cleaning methods protects the internal components.
Can You Use Commercial Coffee Maker Cleaners?
Yes.
Many manufacturers sell descaling solutions designed specifically for coffee makers.
These cleaners work well, especially in areas with hard water.
Always follow the instructions on the product label and rinse the machine thoroughly afterward.
For most households, white vinegar remains an affordable and effective option.
Cleaning Single-Serve Coffee Makers
Single-serve coffee makers require similar maintenance.
Remember to:
- Remove and wash the drip tray.
- Clean the pod holder.
- Wipe the water reservoir.
- Run a vinegar cleaning cycle.
- Flush with fresh water afterward.
Regular maintenance keeps brewing consistent and helps prevent clogs.
Benefits of Regular Coffee Maker Maintenance
A clean coffee maker offers several long-term advantages.
You’ll enjoy:
- Better tasting coffee
- Faster brewing
- Fewer repair issues
- Improved hygiene
- Longer machine lifespan
- More consistent coffee temperature
A few minutes of maintenance each month can save money on repairs or replacement.
Frequently Asked Questions
Is vinegar safe for cleaning a coffee maker?
Yes. White vinegar safely removes mineral deposits and coffee residue when followed by several fresh-water rinse cycles.
Can I use lemon juice instead of vinegar?
Lemon juice can remove light mineral buildup, but white vinegar is generally more effective for deep cleaning.
How long does it take to clean a coffee maker?
A complete cleaning usually takes about 45 to 60 minutes, including soaking and rinse cycles.
What happens if I never clean my coffee maker?
Mineral deposits, bacteria, and coffee oils will accumulate, leading to poor coffee flavor, slower brewing, and reduced machine performance.
Final Thoughts
Knowing how to clean a coffee maker is essential for anyone who enjoys fresh, great-tasting coffee. Regular cleaning removes coffee oils, mineral deposits, and bacteria that naturally build up with everyday use. It also helps your coffee maker brew more efficiently and last much longer.
By washing removable parts after each use, running a monthly vinegar cleaning cycle, and keeping the exterior clean, you can maintain your machine with very little effort. Whether you use a traditional drip coffee maker or a single-serve brewer, consistent maintenance ensures every cup tastes as good as possible.